I recently started working on a new fore-end for my T/C and thought I'd outline the "How-To" portion for those of you wanting to know about pillar bedding a T/C. It's a relatively easy project for anyone that can reasonably use hand tools and has a little patience. Only requires a minimal of tooling to accomplish and can be done in your home workshop. In the following pics, I am only installing one pillar. This fore-end is for a 10-14" barrel and uses a blind hole for the forward "Top Hat". If you are pillaring a 12-14" fore-end, you'd do both screws, fore and aft, the same as in the following pics.
Let's get started.........
Aside from the fore-end, you'll need to source the following items.
Pillar material
Epoxy of some sorts, I use Marine-Tex
Release agent, I use Neutral (clear) Kiwi shoe polish
Denatured Alcohol or Acetone for cleaning the pillar
Black electrical tape
Q-Tips and WD-40
In the following pic is my 'Tender, the new fore-end (in the rough still) and some of the items you need. Note, the pillar is screwed to the "Top Hat" on the barrel.....
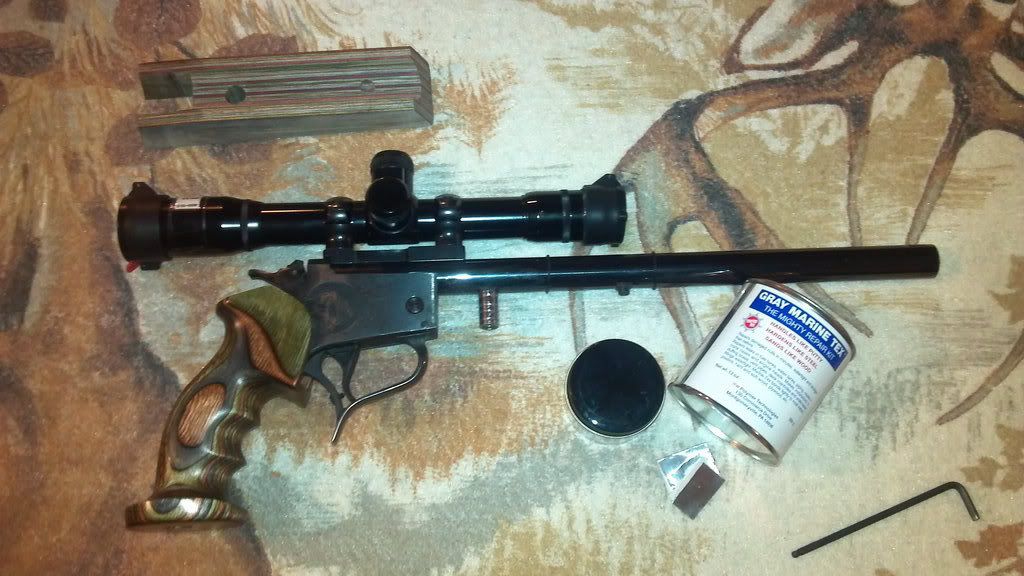
1. First, we are gonna need a pillar to bed into the fore-end itself. You can source pillar making material from various places like your local hardware store. You can also buy pillar material from suppliers like Brownells. You may be asking, "What'sa pillar?". Simply put, it's a metal shaft, with a through hole for the screw. You bed it (epoxy) into the fore-end to alleviate stress on the barrel and fore-end to aid in accuracy. It also prevents you from crushing the wood when you must "gorrila torque" something down.
Here's my pillar prior to being attached to the barrel and bedded in. Note the grooves around the diameter, these aid in giving the epoxy something to hang on to.
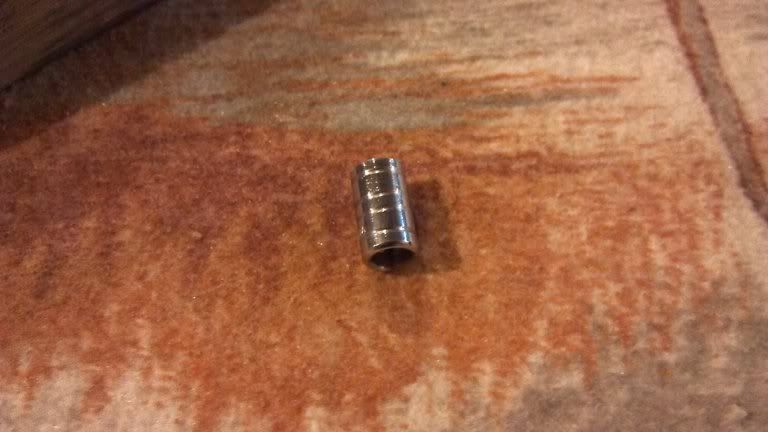
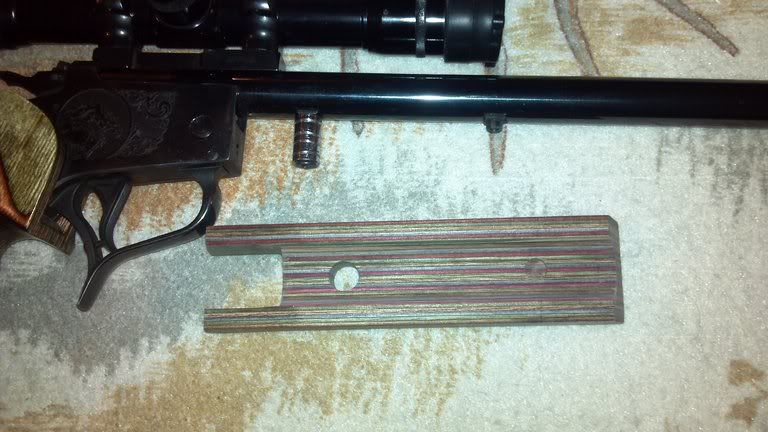
2. After we have our pillar and can determine the diameter of it, we have to open up our fore-end for it. We only want to open it up enough to allow a tiny bit of clearance for the pillar to slide in. My pillar was just shy of 1/2" and a 31/64" drill bit allowed "just enough" clearance.
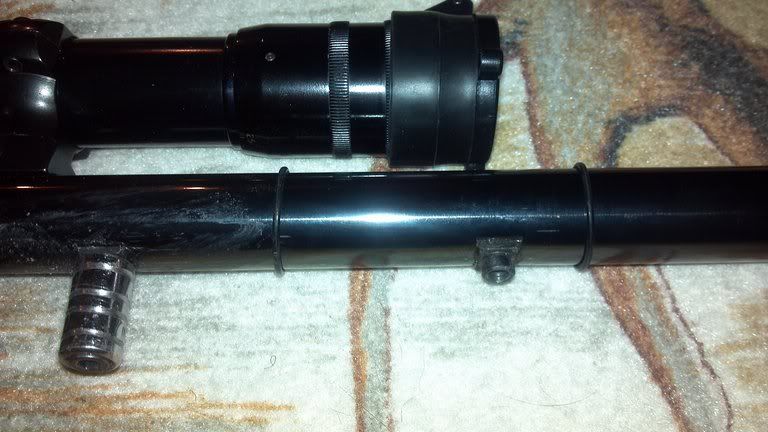
3. After we have our pillar and fore-end squared away, next is install prep. Take your barrel and apply a light coat of release agent (Neutral Kiwi or other wax) to the area around the "Top Hat". Don't skimp on the release agent, don't use enough and you'll epoxy yor fore-end to the barrel itself. Coat the screw as well, especially the head of it (you'll see why in a few). Next, clean the pillar with denatured alsohol or acetone and let it dry, do not touch it with your bare hands. Any oils you leave on it will directly keep the epoxy from bonding with it. If you want to "float" the barrel, now's the time to get after it, a couple of wraps of electrical tape, fore and aft, will give clearance for the barrel to "float". For this step, I use very thin silicone O-rings as can be seen in the accompanying picture. After you follow the above steps, attach the pillar to the barrel. In the next pic, you can see the film of release agent on the barrel and the O-rings used to float the barrel.....
4. We're ready to bed her in at this point. Mix your epoxy, per the container's directions. We apply a small amount in the through hole of the fore-end and apply some on the pillar itself. Don't go overboard, a light coat on both is fine like so......
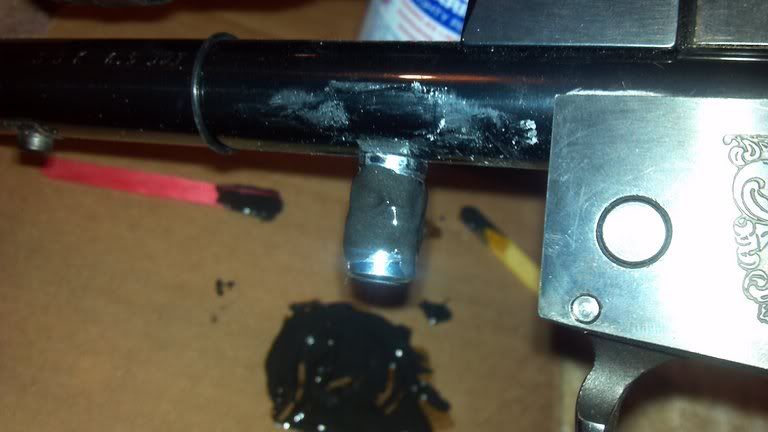
5. After our epoxy is applied, we are gonna ease the fore-end on to the pillar and seat it all the way down. You'll see a bit of epoxy ooze out of the through hole and up on to the screw (remember me telling you to coat the screw head too

). Once it is bottomed out on the pillar, give her a couple of wraps with electrical tape fore and after. It'll aid in holding her in place until the epoxy cures. Should look like this (or close).....
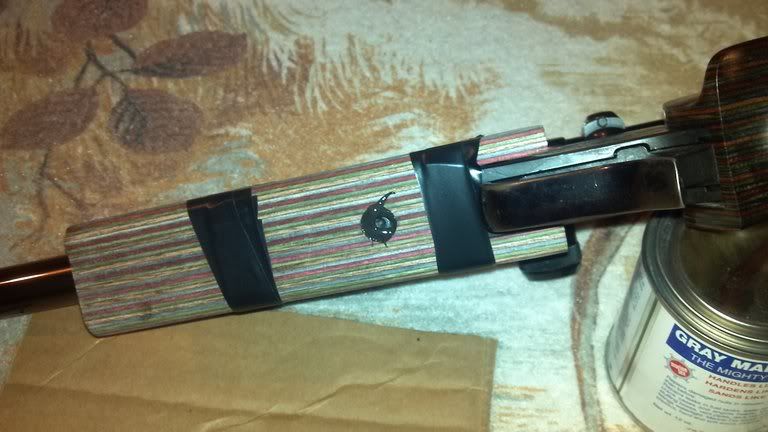
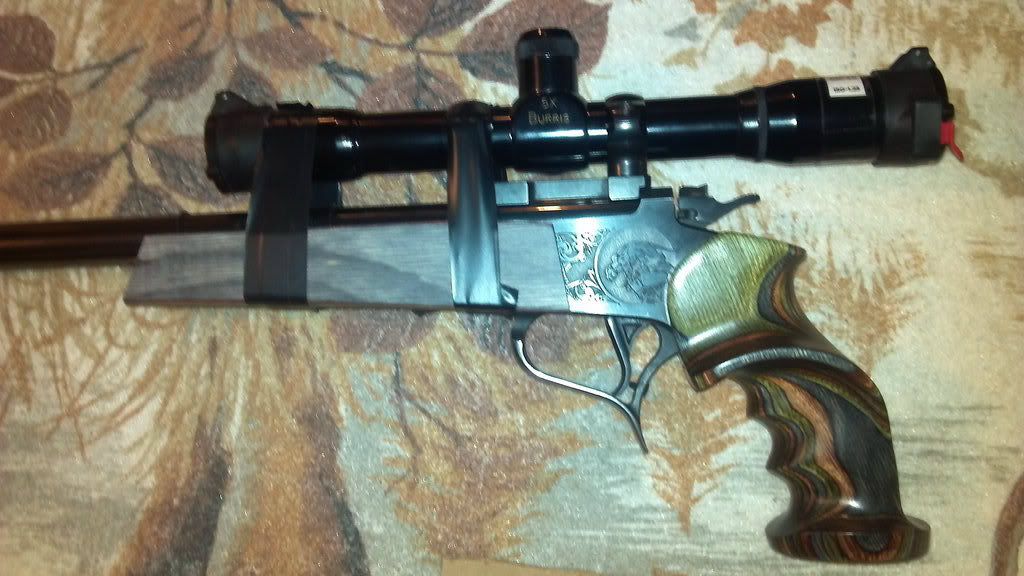
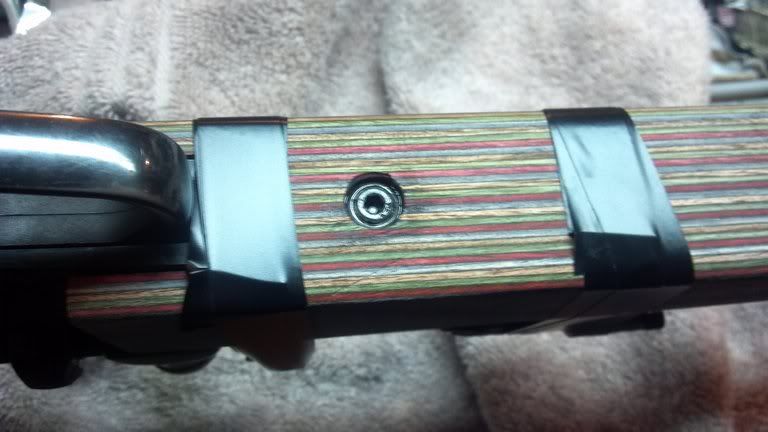
6. After you have the above steps finished, we need to clean up a bit. With Marine-Tex, you can use WD-40 and Q-Tips to clean up the excess. Don't be cheap, Q-Tips are too cheap to keep smearing this stuff around. Wet the Q-Tip with WD, wipe and toss. Here we are after we have her cleaned up.....
7. Let it be!!!!! Give the epoxy ample time to set up. With Marine-Tex, no less than 4 hours before you fiddle with it! After the alloted time, back out the screw first, if the pillar turns with it, let it set longer. Once it has set up and the screw is out, cut the wraps of tape we put around her earlier. Either give the bottom of the fore-end a sharp rap with your palm or a soft face hammer. I use an 8 oz. soft face, dead blow. Don't beat the tar out of it, just a decent bump. You should hear it pop ever so little. Gently remove the fore-end, it'll have a dab of epoxy in the channel itself and it should look a bit like this.....
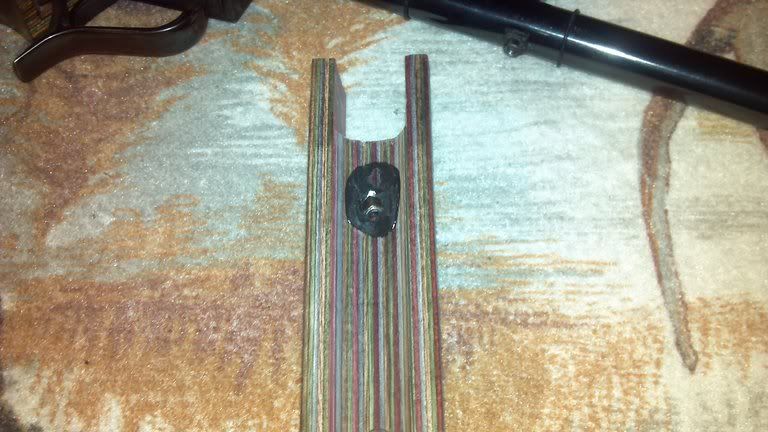
8. Lastly, clean the excess bedding out of the barrel channel and "Ta-Da", you have a freshly pillared fore-end!
