are jut about the same thing. Stains have a small amount of binder in them. Kinda helps with blotching amongst other things. If you keep adding the exact same binder, you will eventually get paint! I have on rare occasion done this backwards. Took a weird tinted wood to a color matching machine at the local paint shop. Thinned the paint down and used it to stain the patch I was working on it. That is an extreme case, good for weird stuff and some very exotic colors...you will also have a life time supply.
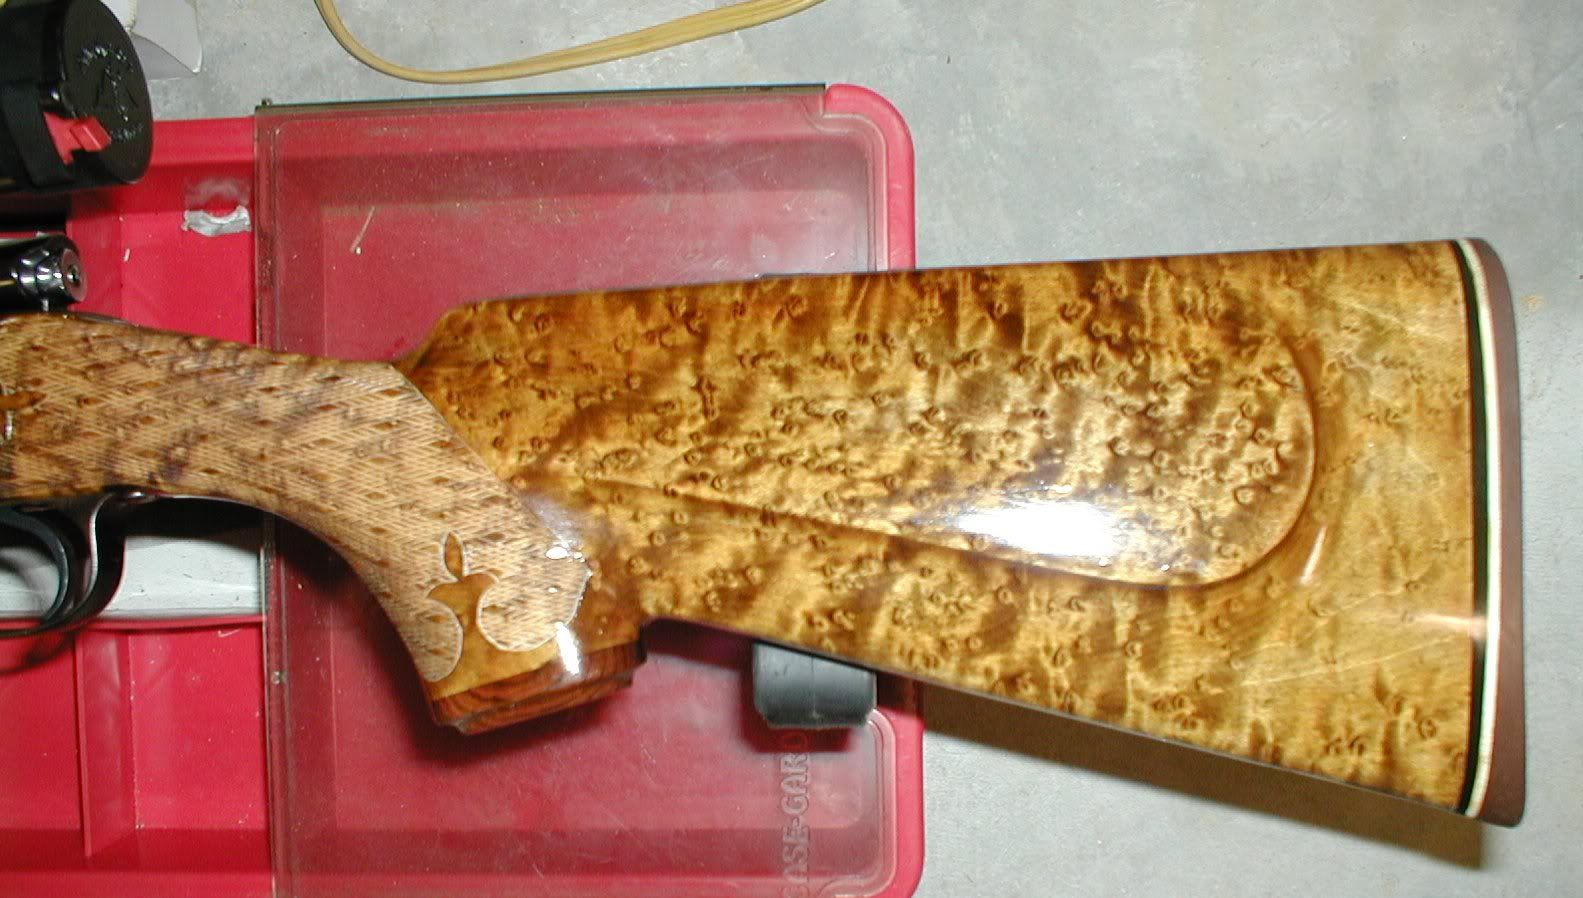
I use aniline dies where possible. The alcohol based version, not the water. Most UTC versions also work after REALLY thinning them out. These are all available online or at any wood worker's supply store. In the picture below is a typical 2 color tint/stain. I sand to about 220, then de-wisker. Make sure you don't use steel wool at this point. When it gets embedded into the wood, it will turn black and stain the wood around it. Steel wool will eventually react (rust) with the wood (remember you just rubbed water all over it). It can take a little while...it will eventually speckle the wood. The 0000 isn't as bad, the "threads" are finer, so the speckles are smaller. Just avoid it and use sand paper. When you have some finish built up, then you can use steel wool. It will be encapsulated in finish, and so have a lot less chance of rusting.
Rememeber to always use some form of sanding block. This prevents waves. If you are just using fingers, the pressure on the sanding paper is applied in a small area. Small enough to fit between the hard grain runs in the wood. This means you will sand away soft grain and leave hard grain behind...ie, the dreaded waves.
First goes on a wash coat of scary bright base color. Yellow maple for maple and usually red mahogany for walnut. This emphasizes the light colors (usually soft grain) and prevents some of the next color from soaking in. When it dries sand. You can tell it is dry because the wood is no longer cool to the touch (alcohol dries fast). Sand 220, 320, maybe 400 if you want to. Apply a dark stain this time. Thin the stain out so you will have to apply it a couple of times. Lightly sand though it to expose the lighter grain below it. 320 or 380 grit paper does this nicely as will 400 albeit a little slower. If you screw it up, or just experimenting, sand it all off. It won't take very much to remove all but the smallest hint of the first bright color you used. Then do it over in other colors if you want. BTW, I think most of the leather dies are a little more color fast then the dies I use (this is a very good thing). They also tend to penetrate deeper too (this can be a bad thing). Always start out lighter and thinner then what you want. You can apply more later. Too much and you have to do a lot of sanding.
Next is a finish. Wiping varnishes (oil base) make a good easy start and help avoid the dreaded runs. Don't be tempted to wet sand with some finish to speed up filling the wood pores. You will only end up with ugly streaks where you sanded through the thin layer of stained wood by accident. Dry sand instead. When you have built up several layers, you will start to see the grain pop. All that hard work becomes worth it. Keep at it until the grain is filled. Lightly sand between each coat. With wiping varnish you can add more then 1 coat per day. Don't exceed more then 3 coats in 2 days though. If you do, the finish won't cure and will always be soft. That means easily scratched. When the grain is filled, switch to an oil based varnish. It is much thicker and can be applied with a paint brush. Allow a minimum of 24 hours between coats. Since brush on varnishes have a lot more particles then the wiping varnish, it will only take 3 to 5 coats total. When you add a coat and see the finish isn't getting much "wetter" from when it was dry, you have completed the course! Add one more coat just to make sure the thin spots are covered. You now have an oil finish with a grain that stands out. Oil does make a difference over poly, complicated nitrocellulose, and acrylics. Don't know what it is, oil seems to make a difference. When you are done, rub the stock down gently with 0000 steel wool or car polishing compound made for removing oxidation. You will be shocked at how course it is. Use gently and when all done, coat with a good paste wax. The wax restores the luster and adds a glow that only comes with oil.
watch the expressions on your friends faces when they see what you created. It is all worth it.
This uses coal tar as the last color. I use hand rubbed oil... most people are not as masochistic as I am with all those coats.

If possible, I will try to take pics of a muzzle loader I am finishing. If the colors come through the pic, I'll post them. it looks really yellow, however, when filtered through a yellow finish, much of the yellow disappears and you are left with an eye popping grain.
Have fun,
Chris