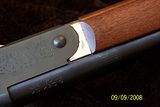
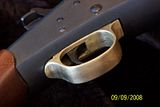
These parts are manufactured by Moyer's Gun Repair.
http://www.moyersgunrepair.com/product_info.php?products_id=45&osCsid=9f556a8019beecbaad3b58edc7a69f70First of all, there is an old thread about about these when they first came out:
http://www.gboreloaded.com/forums/index.php/topic,125031.0.htmlI didn't find that link until after my order was purchased. I was shocked to find out that these were going to be unfinished parts! I think the part he shows on his website is a factory plastic H&R part, not one of his reproductions. That should be false advertising as I see it. But alas...
Well, they came in the mail and I got out my #2 swiss file, a small dowel rod and some sand paper. Then I used a Dremel sanding drum in my drill. Then I got out the needle files. I finally gave up on this being a fully polished piece because I want to take it into the woods without fear.
The problems I encountered were these:
1. The rear of the guard touched the frame, preventing me from getting the holes for the trigger pin from lining up. I tried a few things that didn't help, and eventually ground a divot in the middle of the offending piece of the rear of the guard. After that, the guard would finally line up with the holes in the frame. One down...
2. The trigger couldn't return far enough for the hammer to cock. I had to file down the guard at the area just below the trigger return spring. And the hammer cocks!
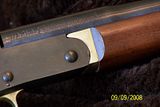
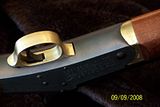
3. Just when I thought I was done and had the rifle fully assembled, the action jammed closed. It turns out this was two problems occurring at the same time. One problem was that the large hole for the forward facing spring is not deep enough. I did not trust myself to drill it any deeper without punching through, so I installed a spring about 1/2mm shorter. It would work, but it was HARD to open. I took it apart for the millionth time to discover that the part of the action that physically locks up with the barrel was touching the trigger guard. Sure enough, it was about 1mm taller above the front trigger guard pin hole. I used a needle file and measured often with a digital caliper to make sure I got just enough off. Success.
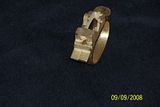
before (click for larger picture)
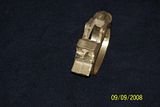
after (click for larger picture)
4. The forearm spacer. Where to begin...The top "ears" do not go high enough to be parallel with the frame, nor do they go back far enough to touch the frame at lock-up. There were many pits and low spots that need to be filled. I just couldn't file any more of the spacer away to mask the problem. These ears were also too close to each other, preventing the barrel from fitting in between them. It heated it up over the stove a little, and tapped on it with a ball peen hammer. I barely moved it any, but it now TIGHTLY fits the barrel. I put sandpaper on the frame and rubbed the spacer on it to get things headed in the right direction. But being brass, it is going to smooth itself out just from working the action.
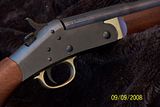
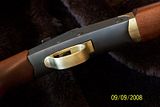
Here is my opinion. The gun looks really nice to me. The trigger guard must have been improved since it first came out because the fit is actually too close, needing final fitting. I really like it like that. The two halves of the mold did not line up perfectly on the actual "guard" portion, but the inner parts had good line up of the holes and were fine as far as that goes. The forearm spacer is still a little rough and could use a date with an old coat hanger and a blow torch. I may have to set that meeting up...
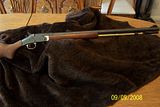
Here the final assembly (I hope) including the factory ramrod with the paint polished off:
Clickable thumbnails:
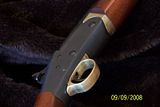
In this one you can really see the pits and low spots on the side of the spacer.
