Author Topic: first set of handles  (Read 696 times)

0 Members and 1 Guest are viewing this topic.

Offline john keyes

  • Trade Count: (0)
  • A Real Regular
  • ****
  • Posts: 770
first set of handles
« on: September 12, 2009, 07:09:53 AM »
I got the handle blanks from Dixie for like 4 bucks
I need a drill press  bigtime....kinda screwed up
 I drilled the holes, glued the square sides on, tapped the brass rods in and left a 3/16" or so of the rods sticking out on each side so I could hammer them into mushrooms. Then clamped it up with three C-clamps and left it for a couple days.
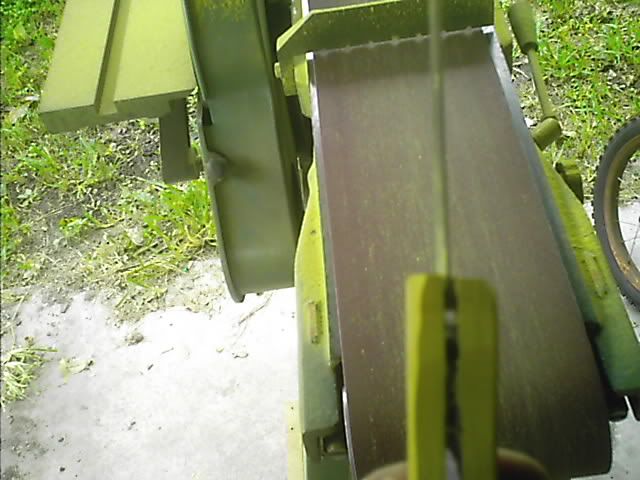
the shape of the full tang is much different,I thought I could sand to shape but I
decided to stop sanding for the time being, I'd rather have some wood left than not enough
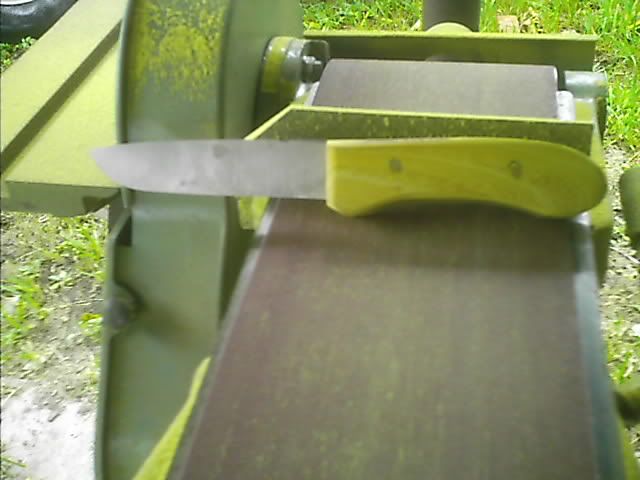
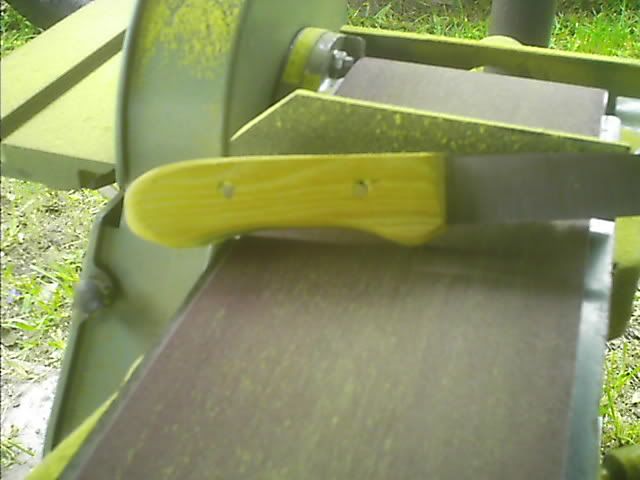
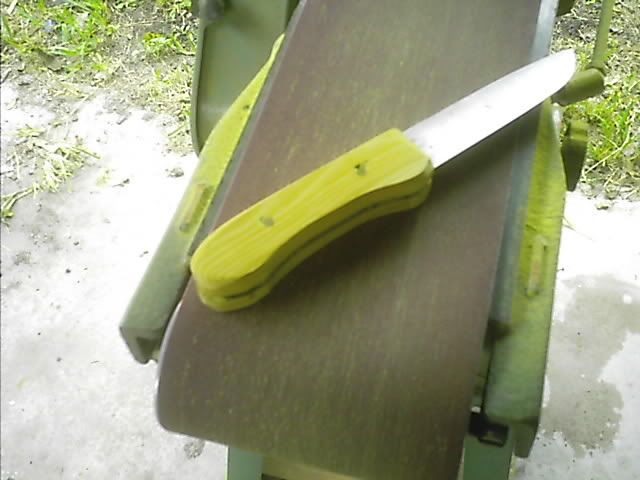
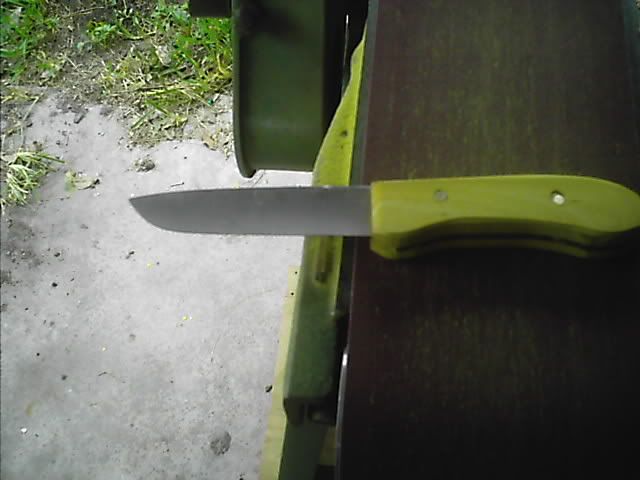

oops.....
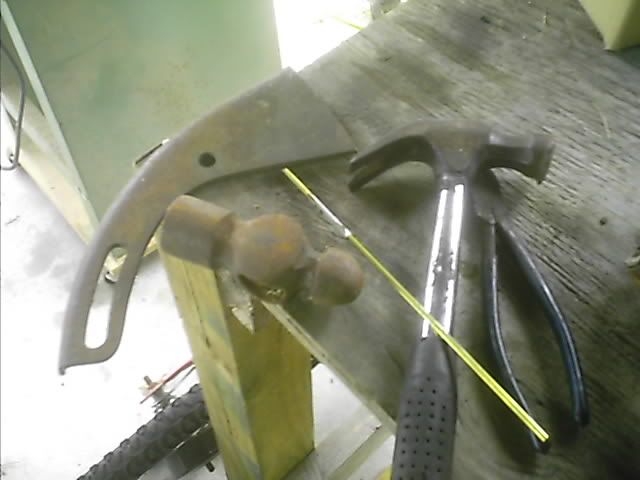
and here is the "anvil" I pounded the ends of the brass rod to mushroom them in a slight counterbore
Though taken from established manufacturers' sources and presumed to be safe please do not use any load that I have posted. Please reference Hogdon, Lyman, Speer and others as a source of data for your own use.

Offline Joel

  • Moderator
  • Trade Count: (0)
  • A Real Regular
  • *****
  • Posts: 933
Re: first set of handles
« Reply #1 on: September 12, 2009, 12:33:23 PM »
Hard to tell what's going on in those pics.  One point though.  If you choose to peen(mushroom) the pin heads on a wood handle, you have to be careful that you don't expand them enough that they are exerting pressure on the wood.  The wood will eventually split, especially if it expands at all due to dampness. One of the reasons that cutler's rivets and various corby/loveless bolts are around.  I do a lot of pin work.  While I used to expand pins slightly in micarta or G-10, I never did on wood. You see lots of old pocket knives around with cracks around the pins from that over pressure.  I use epoxy to hold the handles to the tang and then also run epoxy into the holes and roll the pins around in the stuff too until well coated.  Helps to rough them up just slightly on a grinder or with sandpaper before gluing also.  One thing about grinding soft metals like brass/copper/nickel silver etc is that the act of grinding/sanding cause the heads of the pins to expand slightly and helps hold them in.  The effect is called smearing.

Offline john keyes

  • Trade Count: (0)
  • A Real Regular
  • ****
  • Posts: 770
Re: first set of handles
« Reply #2 on: September 13, 2009, 02:05:26 PM »
thanks Joel, its nice to have you and the other pros around.  I always welcome any criticism.

I did counterbore and open up the end of the holes a bit to allow for the peening, which was done very carefully.
Though taken from established manufacturers' sources and presumed to be safe please do not use any load that I have posted. Please reference Hogdon, Lyman, Speer and others as a source of data for your own use.

Offline DeckH

  • Trade Count: (0)
  • Member
  • *
  • Posts: 42
  • Gender: Male
Re: first set of handles
« Reply #3 on: September 28, 2009, 12:13:41 PM »
I'm with Joel.  No need to pein the pins in handles.  You only pein the pins in bolsters.  You do not "counterbore" the outside of the bolsters or the pins in the handles.  However, I do "counterbore" the inside of the scales (handles) and the tang of the knife I am making as well as the bolsters.   Thus, when you smear on the epoxy you are creating more of a bond beween the pins, scales and the tang.  It is a good idea to rough up the pins as Joel recommended.  I also use a solvent such as acetone to "clean" everything before applying any epoxy.  My two cents.
       Plenty of knife making tutorials on the internet.

Offline Joel

  • Moderator
  • Trade Count: (0)
  • A Real Regular
  • *****
  • Posts: 933
Re: first set of handles
« Reply #4 on: September 30, 2009, 03:31:55 AM »
Yeah, I counter bore the inside of the scales by drilling slightly into the balance holes also when I'm drilling for the pins or bolts. I fill the holes on the one scale, lay down the tang, fill the tang holes and then do the top scale holes also.  When it's all clamped together you end up with strong epoxy "internal rivets" that really keep those scales from ever coming off.