Here's a full tutorial using Photobucket as an example, though the general procedure is the same for any forum picture hosting:
These are the exact steps I use when posting pictures:
First, you will need a picture hosting site. I use
www.photobucket.com , though there are others.
1. Click the link above if you wish to use them, and create an account (it's free).
2. Once you have created your account, upload your pictures to their site.
Upoading a picture on photobucket:A. On your main page, there will be a box in the right center that has a click button which reads [Upload images & videos].
B. Click that button!
C. A search window will pop up, allowing you to find the images on your harddrive. You can either select them individually, or hold [Shift] to select a range of pictures or [Ctrl] to select a group of pictures one at a time.
D. Click [Open], and the selection window will close, and the uploading will automatically start. You can view this process in the same area where you originally clicked the [Upload images & videos] button.
E. After the upload has taken place, you will be offered the opportunity to add information to the pictures. I don't bother with this, so I immediately click the [return to album] button.
F. At this point, you should do any organization you wish to do to your pictures, because once you post it here, if you move it in your photo host's site, the link will be dead here.
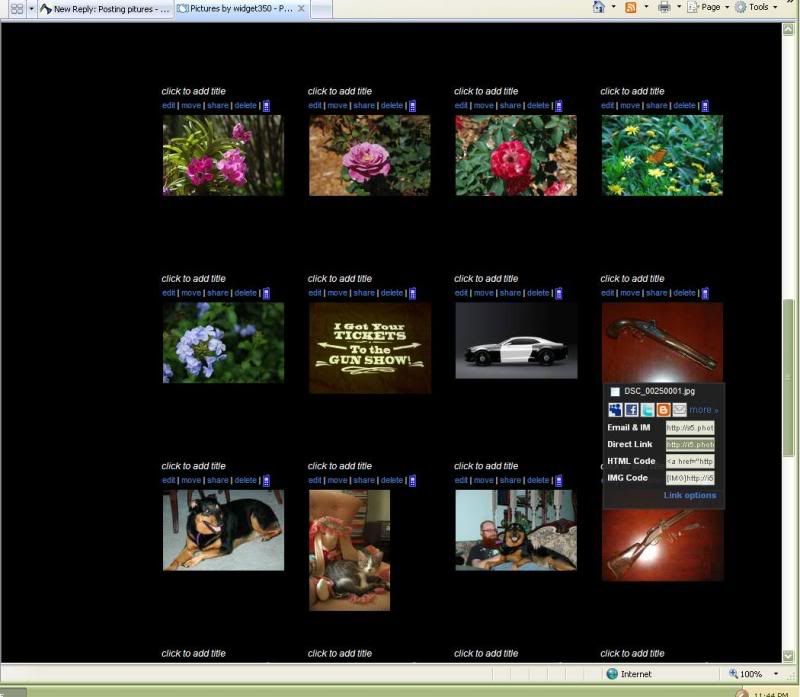
Uploading your photo to GBO:1. In your photohost's website, you will see a list of options with your image. Photobucket has 4 windows below each image when you mouse over it which are supposed to help you out in posting it to a forum. For this forum, you will want to click in the text box labeled "IMG Code" (the bottom one):

2. Clicking on the text box has highlighted it, as seen in my example. Now right click on the highlighted text, and select "copy".
Now you can paste the link to your photo in GBO!!!
3. Go to your new post in GBO, and determine where you want the picture to be.
4. You want to simply paste the link into the text box. You can either do this by holding [Ctrl] and [V] or by right clicking on the box and selecting "paste".
5. You will see something that looks like this (I've modified the brackets so you can see the text):
[img}http://i5.photobucket.com/albums/y160/widget350/DSC_00250001.jpg{/img]http://.
6. Your image is now ready for posting. Simply finish typing whatever you want to say or follow the posting process to post more images, then click [Preview] to make sure the image(s) show up, and then click [Post] to let everyone else see your beautiful images!
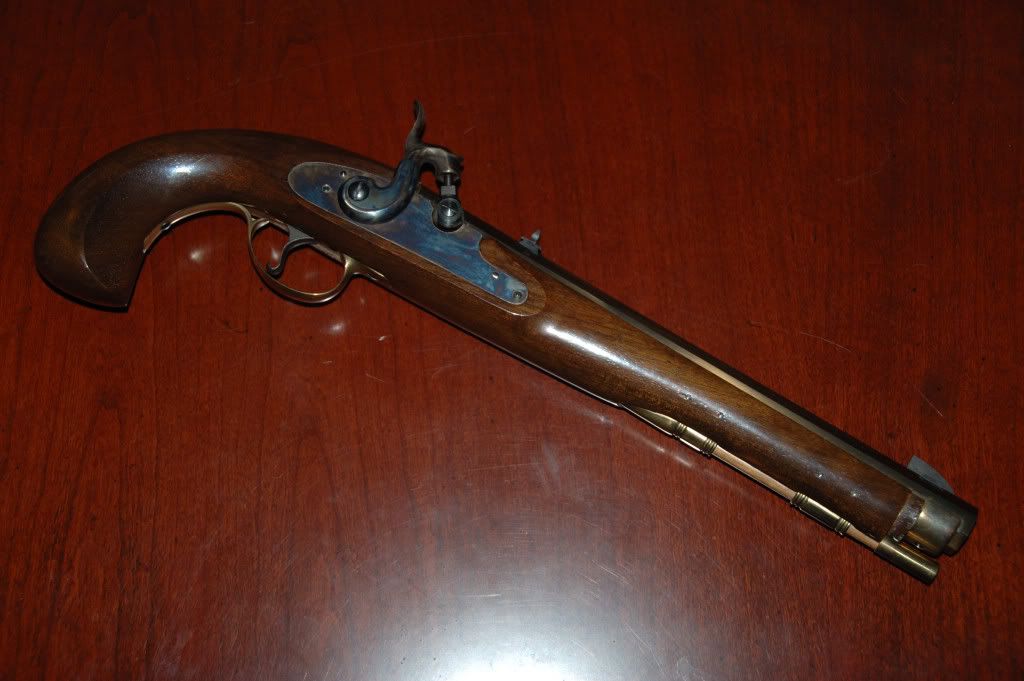
Here's my sample (the muzzleloader that got me started):

Please let me know if you have any questions about this.
One tip - I like to have both websites open in seperate windows or tabs while doing this, so if I accidentally copy something wrong from the photo hosting site, it won't take much time to copy it again.
Another tip - be sure to hit [Enter] between pictures so they are shown in an easy to view format.