Clearly there is a learning curve in getting the most out of a gps. This fall I should have brought my 76C for my hunting partner. He has shown an interest so I need to think of how to make it a positive learning experience in 2007. He has been exposed to my gps units in the past so he is not totally in the blind. The unit is already loaded with US Topo maps for the area we hunt, so he does not need to worry about that. And the advantage is that when he cranks up the unit he will be able to see his position.
I have to keep this simple: This is tough to do, my partner has had a little exposure to my different gps units, the Garmin Legend, the Garmin 76C and the 76Cx, but he has never used one to used one on a hunt. The above information is good for most of the current Garmin handheld gps units.
I guess I will start out with the following:
1. Key functions.
A. Power key to turn the unit on and off. The Power key also turns the backlight on and the Rocker can be used to adjust the light level.
B. The Quit key, which cancels, a page or cancels data entry, and it will remove the power bar on the screen after you have pushed the Power key to light up the screen. The Quit will allow you to exit a page and drop back to the page before. I use the Quit Key a lot to change pages.
C. The Menu Key is important for the more advance user so I will not cover it because I am working with a beginner at this point. This is a very important tool but more for operational setup. The Menu option for each key should have been made before the hunt and might overload a beginner. So we will use the KISS principal
D. The Page Key will allow him to cycle through the different Pages. We will start out with the Satellite Page. It is important that he understand that if he is in a cleared area he will receive more Satellites then in heavy cover. And he will want 3 or more Satellites to get a good reading. The more the better. He can also get his current LAT/LONG from this page and need not create a Waypoint to get it.
E. The In & Out keys which will allow him to zoom in and out of the map.
F. The Enter key is important because it allows him to create a Waypoint or edit data on the waypoint page. If he crosses a track that he would like to record he can Hold down the Enter key until a new waypoint appears. The OK option will be highlighted. All he needs to do is press Enter and the waypoint is created. And then return the unit to the case. Should he need assistance at that Waypoint he can give me a call on the radio and give me the LAT/LONG of the Waypoint he created. I can create a Waypoint on my gps and then edit the LAT/LONG with the data he provides. This done by highlighting the existing LAT/LONG by scrolling to the location field and hit Enter. A drop down box will appear and by using the rocker I can modify the LAT/LONG. I then hit the GoTo option and switch to the Map Page, the Compass Page, or the Trip Computer Page.
On the Map Page a solid line will show between my location and the New Waypoint. A dark arrowhead called the position pointer indicates my position. All I needed to do is keep going the direction of the solid line and I will track to his location. This is helpful because it gives one a relationship on a map of his partnerís location.
Before leaving the pickup I will have him create his first Waypoint, by holding down the Enter button, when the Waypoint appears I will have him scroll up to the symbol box and hit Enter. I will have him scroll down the page to a vehicle symbol and hit Enter. I will then have him scroll over to the number assigned to the Waypoint and hit Enter. A drop down will appear and I will have him select Pk1and any unwanted letter or number can be deleted. Then I would have him scroll down to OK. That should close that option and put him back on the map page. As he hunts away from the vehicle a solid line will appear between him and the vehicle.
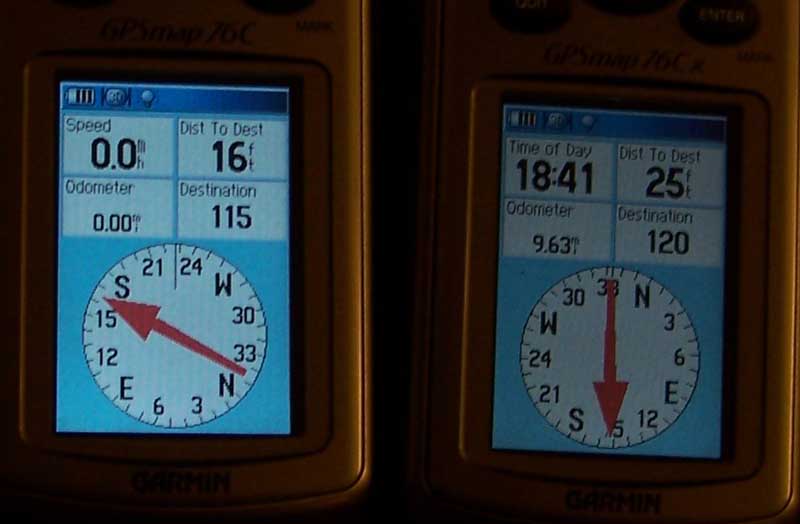
I like a quick view of the Map Page and the select the Compass Page. I have the Compass page setup with four data boxes on my units. The boxes are Speed, Dist to Dest, Odometer, and Destination. In this case the Destination would show the waypoint number or name that I am going to. In this case the Speed box does not mean much. Dist to Dest tells me how far I have to go and the Odometer tells how far I have traveled.
I have pre-selected the Bearing Pointer as the Compass Needle. The Pointer indicates the direction I need to travel. The outside ring on the compass moves to indicate the compass direction I am going.
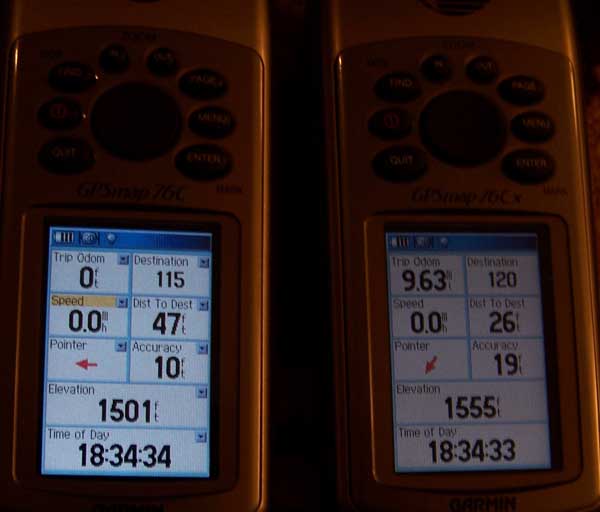
The Trip Computer Page can be setup to closely duplicate the Compass Page or other options can be selected. I have this page pre-setup with eight data boxes. My selections are: Trip Odom, Destination, Speed, Dist to Dest, Pointer, Sunset, Elevation, and Time of Day.
Lets say that during the day he decided to hunt over to my location and I provided him a LAT/LONG and he selected go GoTo. Now the solid line from his position is going to my position and not Pk1. After we tie in we plan a hunt that will have us back at the pickup in a few hours. The plan is to meet back at the rig at dark. He selects the FIND button, and selects the Waypoint Icon; he gets a page showing all symbols (Waypoints) near his current location. From that list he selects Pk1 pushes ENTER, and he selects GoTo, which sets him up to navigate back to the pickup. He might select the Trip Computer Page, which will feed him the data so that he is not a mile or so from the pickup come sundown.
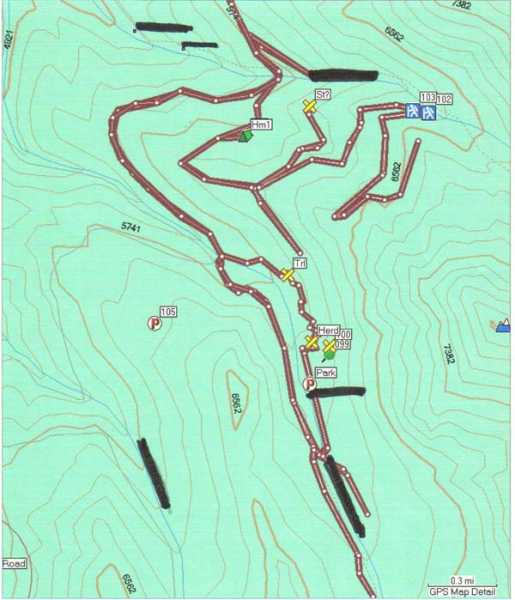
Before he is given the unit I have selected the MAIN MENU page. On that page I selected TRACKS ICON, and I have the Track Log on. This will show his trail on the Map Page, and if we need to he can track back. At the end of the day we can save or clear the track he has created. And clear the Trip Computer Page so that we can start fresh the next day. I believe there is a benefit to examining your TRACKS. It gives me a better feel for the area. And you can save and print out the TRACK months later to refresh the memory.

Compass Page(s) with Pointer.

Computer Page(s)

Note in the third box on the right I normally have Sunset as the Data for that box and not Accuracy. The user can modify the data in each box to fit his needs.