On to the carriage...
The Green plans have you bolting angle-iron to the sides of flats to make the flanges around the carriage. I suspect the originals have two plates bolted together but don't know. Not sourcing any 1/8" x 1/16" angle iron, I took the other road and CNCed the side plates whole out of 1/4" plate scraps.
First, drilling all the bolt holes. Most of these are now decorative since they aren't holding any angle-iron on. I added a bunch more for looks and to be more consistent with the originals (especially under the trunnions) since I wasn't the one doing all the drilling

(I was, however later on the one doing all the bolting

)
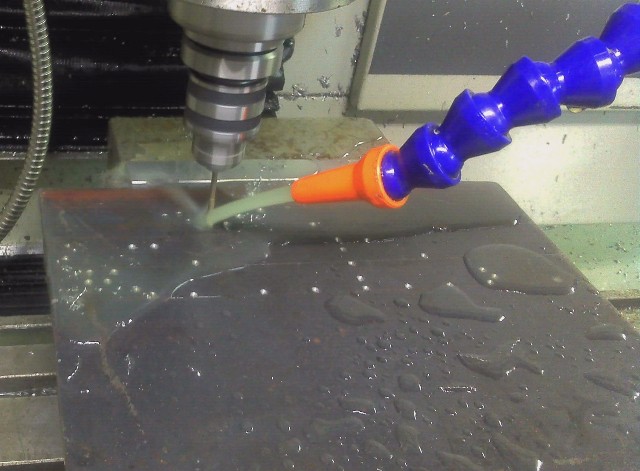
After much scooting of pixels on the computer-- start pocketing out most of the plate, leaving 1/16" lip at the edge.
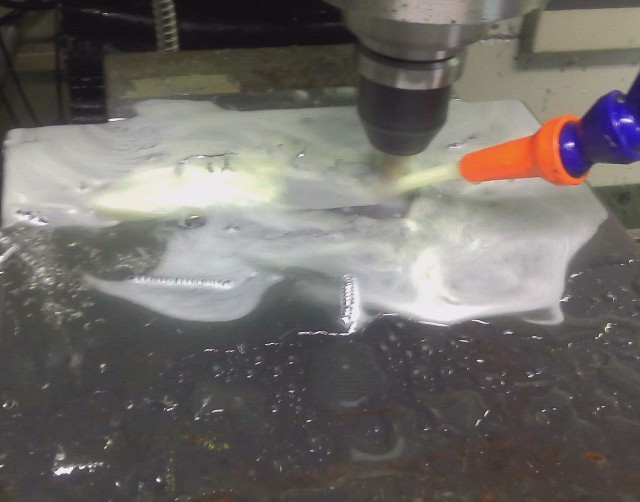
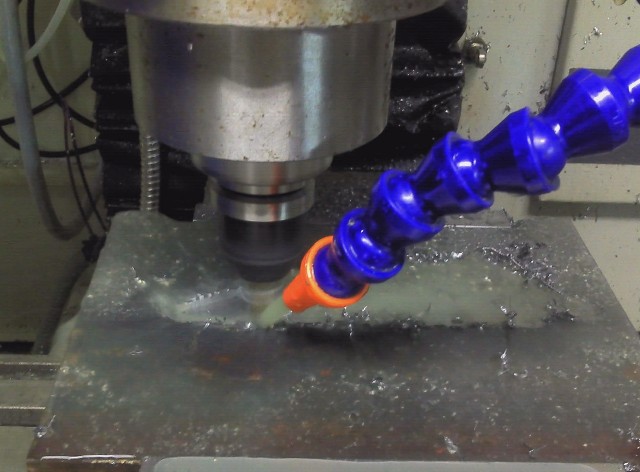
When that's all done (like eyeglasses, in about an hour), they are cut out and with some deburring, look like this (the wheels are separate, only there to prop up the plate for photos at this point)
The rear jacking pads and reinforcement are also pocketed out during the cutout operation.
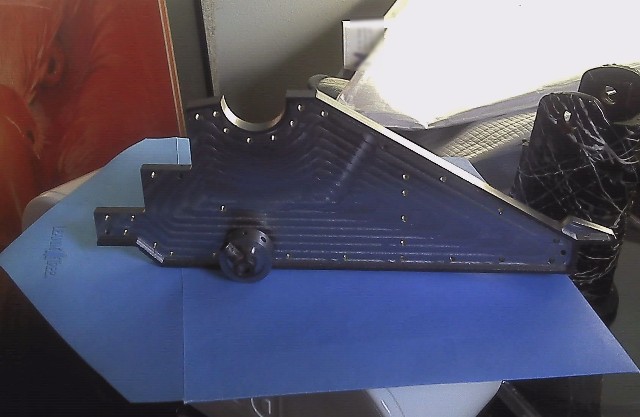
Now you have to take your beautiful plate and trust it to the machine for another two hours to do the other side (since there's only a small flat spot to hold the part in the vise, I used a smaller bit and took lighter cuts. It is not fun when a bit breaks partway through.
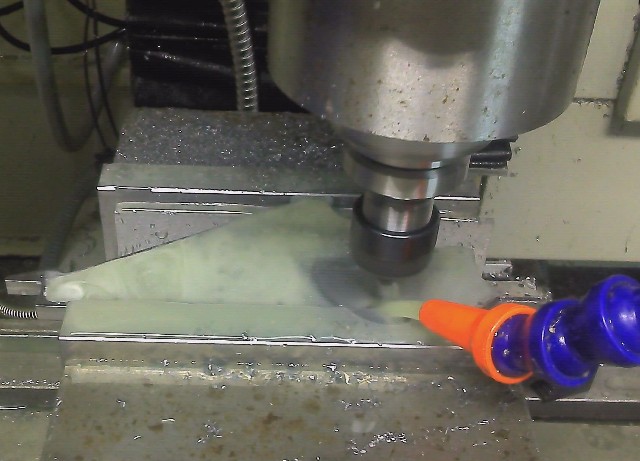
Now do all that over again to make the other plate...
Bolt it all up, make some trunnion caps, transoms and angle brackets
Silver solder the transoms to the angle brackets and silver solder a set of 4-40 studs (set screws) into the top of the frame for the trunnion caps to bolt to (hence the blackening of my previously beautiful shiny CNC parts) and install close to 100 decorative 2-56 screws and nuts, and here we are ready to defend Fort Treadwell from enemies Foreign and Domestic.
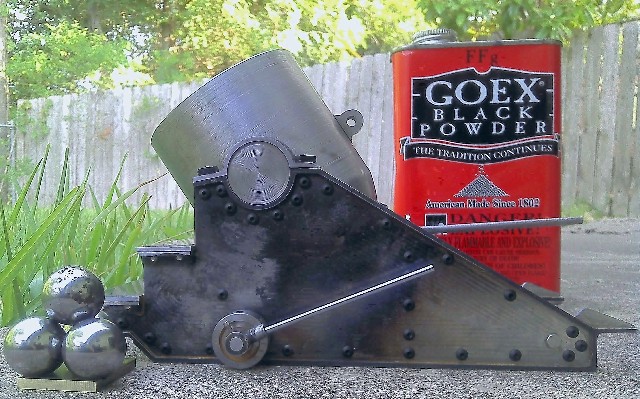
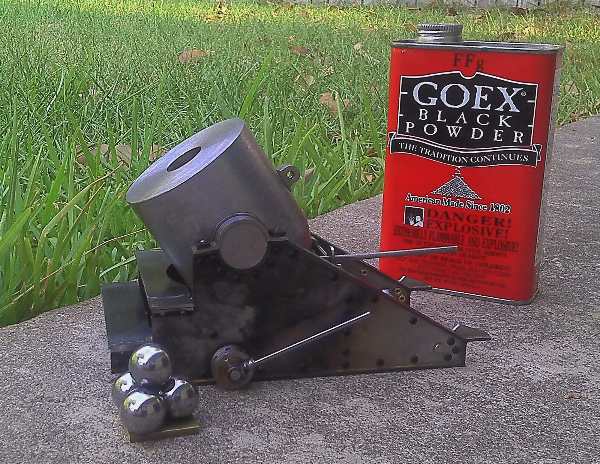
It still needs a good sandblasting and coat of paint, but it's about done.