I said I'd try to do this and we'll start with the tools and some basic info. I'll add to this as time permits. Please remember this is just ME and in no way the end all of how this is done!! Also the book 'Checkering and Carving Gunstocks' by Monte Kenneday (sp.) should be mandatory.
There are a several types of patterns and they vary in difficulty the more times that a groove or line must be stopped, restarted. For this treatise we will deal with the easiest pattern style, the fill in. These consist of an outline with any decorative elements such as fluerdelise that is simply filled with the checkering. It needs to be centered and balanced (the same on both sides of the center line) and the masterlines need to be in place. The master lines are the lines which all the lines in the pattern mimic. They generally subtend an angle which generates a diamond with proportions of 3 1/2 to 1, height to width.
Diamond patterns of this proportion can be bought but making such a pattern is quite easy. I prefer plastic of the blister pack type, rigid but still flexable. The pattern is drawn from a centerline with a right angle crossing line in the center and the outside lines connected. The lines should be scribed in place and filled with a permanent magic marker. Leaving the centerlines and the crossing line allows the diamond to be layed over the pattern centerline and the masterlines located. The pattern is best cut out with a metal ruler as a guide, using a sharp blade. A section of tape measure blade about 12 inches in length will provide the flexible straight edge requiured to chase a straight line around the constantly changing curves and angles of a gunstock. A mechanical pencil (.7) and a Sharpie will handle marking duties. A long angle Exacto blade in a medium handle does cutting and marking duties. The actual checkering tools consist of a spacing cutter of the desired size (I prefer 20 lines per inch as a compromise) which gives us proper spacing across the pattern and a single line cutter to deepen the grooves of the pattern. Left and right cutting spacers are not required as the stock can be turned to allow access to both sides of each of the master lines. Dembart is a standard in the industry and they produce a file type cutter and the cutters are replaceable when they dull. For the first timer they are completely satisfactory. The single line cutter is used to deepen the lines in stages. Figure on going over the pattern at least 2-3 times after layout until all lines are at full depth and no flat top diamonds remain. Dembart cutters can be mounted to cut on the push or pull but I much prefer the push cut. The S-1 cutter produced by Dembart cuts on a pull stroke and is used to finish each line at the edge of the pattern or at each stopping place (ribbon, etc.). This is accomplished by placing the S-1 cutter into the lines at it's very end and tight against the ending line and pulling. This is needed as the normal cutters are slightly curved to better follow the layout lines and must be stopped short of full depth at the end of each line. This elimnates the runovers you'll quickly learn to detest. Carving chisels can be used to cut the curves for fleurdelis edges but I use a Dembart veiner, a small short push cutting 'v' chisel for this as it allows infinite variation and has other uses where small curves or lines need finishing in tight places without the numbers of chisels a carver would use. So to recount, Metal straight edge (tape measure section), layout diamond, Exacto knife, Sharpie and mechanical pencil, Dembart spacer and single edge cutter, Dembart veiner and the S-1 cutter. Other tools that are handy but not absolutely necessary include the 'jointer' which is basically just a long single edge cutter. It has little rocker and it's length helps straighten those lines that want to run away, especially in firured wood. Also if your eyes are not young anylonger a MagnaVisor is a great boon. It improves the detail and is easily flipped up to give the eyes a rest. A set of French curves can also be handy. I have several and some shape plates with differing sizes of ovals and circles. A very handy pencil is a white lead pencil used by quilters. It is sharpened like a regular lead pencil but the lead is softer and white. It makes definate mark thats easy for the eye to catch. Along with paper and masking tape are just about all there is to it!
After tools we must decide on a design. The approach I use is to create a pattern on paper. To make a balanced pattern, exactly the same on both sides of the centerline and to fit the stock precisely, we first define the size of the stock and it’s shape. I use a sheet of typing paper or good copy paper. Wrap it around the forearm of the stock and pinch it together at the top, over the barrel channel. The paper needs to be long enough to extend from the front of the bottom metal inlet to the fore end tip or at lest the hole for the sling stud. These two points will helps us realign the pattern once we’ve drawn it on the paper. With the paper stretched around the fore end tightly a pencil is used on its side to rub the top edges of the stock which creates a line on the paper where the top flat of the stock is found. The same process is used to define the location of the bottom metal inlet.
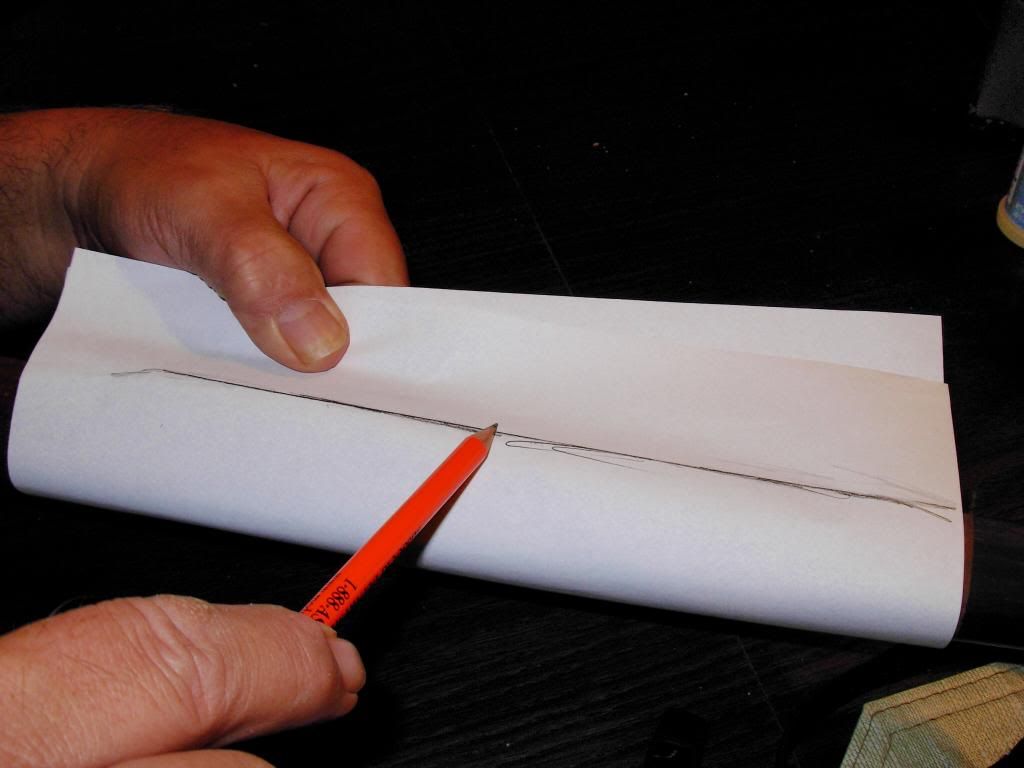
When this is complete the paper can be removed and the excess above the top two sides cut away. The top edges can then be aligned and folded together with the crease going through the center of the paper from the middle of the front of the bottom metal inlet to the underside of the forearm tip. The crease is now the real center of the fore stock and the balance of the forearm can be easily seen.
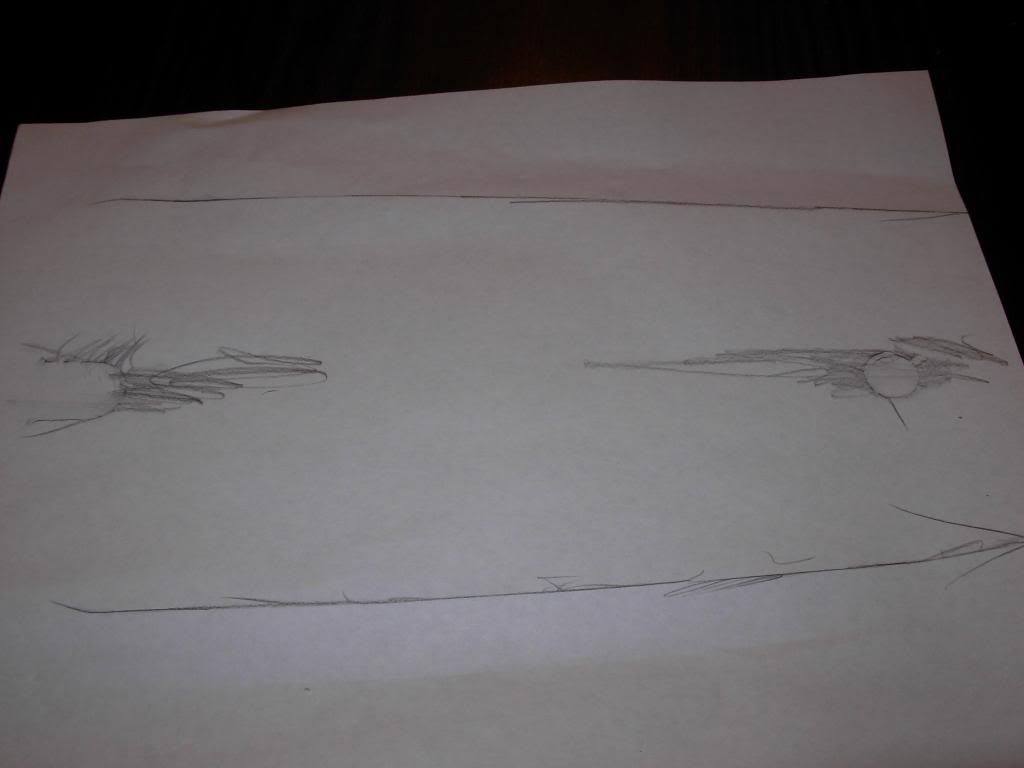
A sharpie will darken, straighten and better delineate the outlines. Erasing the rub marks helps see the outline better.
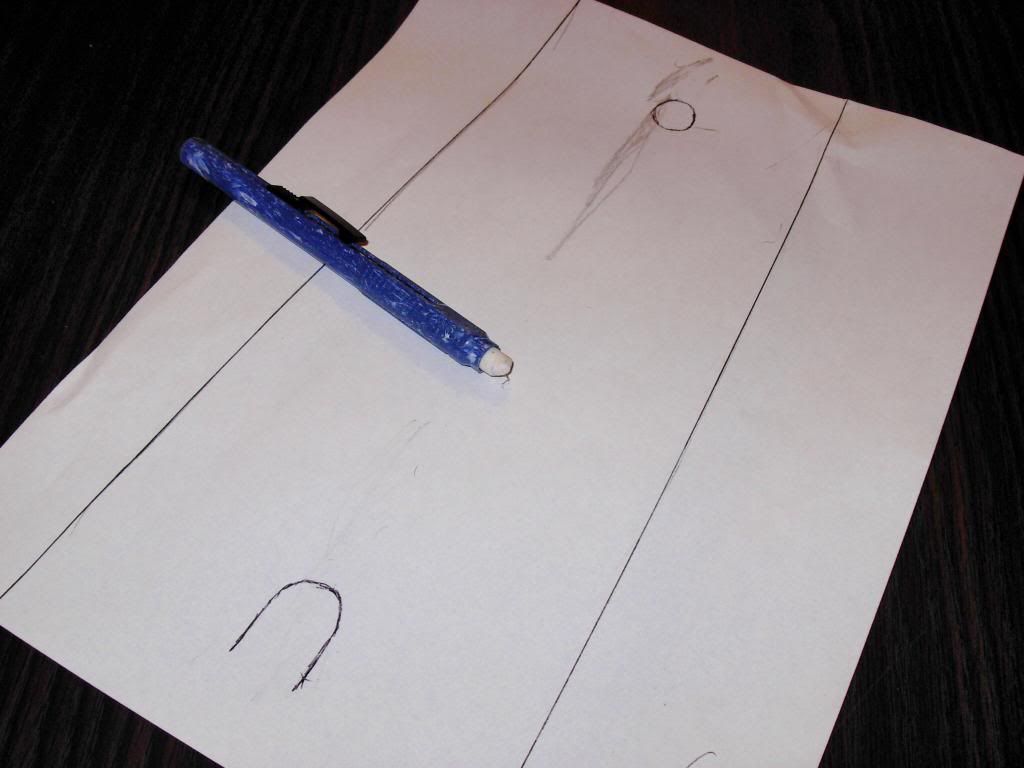
Removing parts that are outside the pattern definitions.
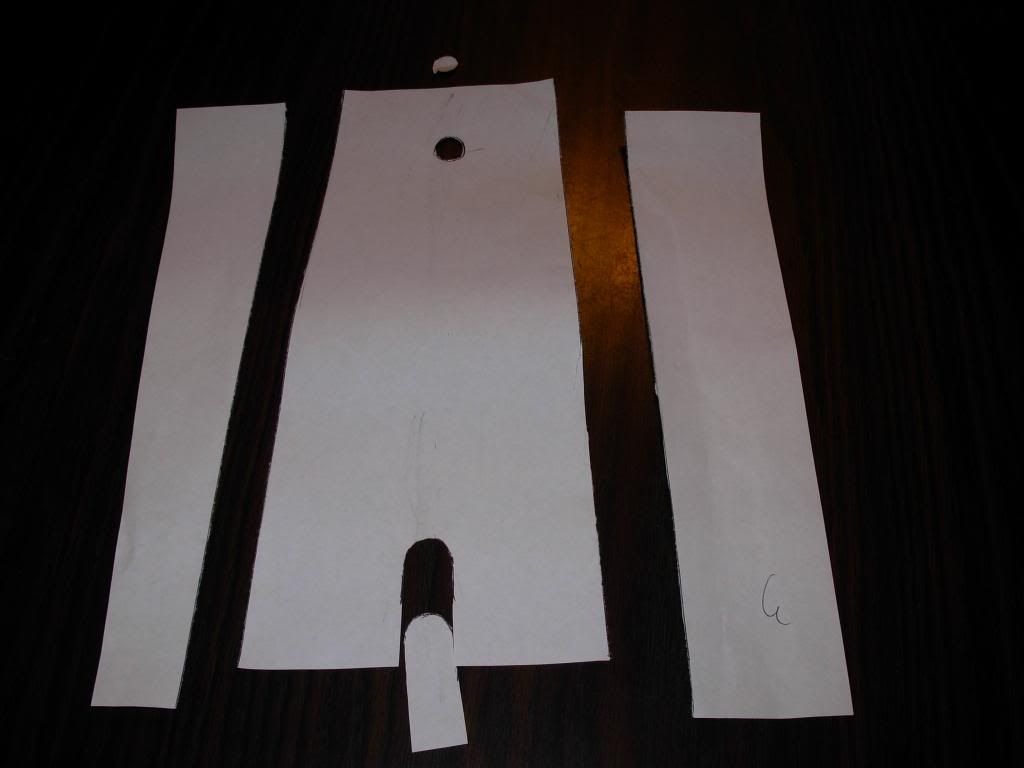
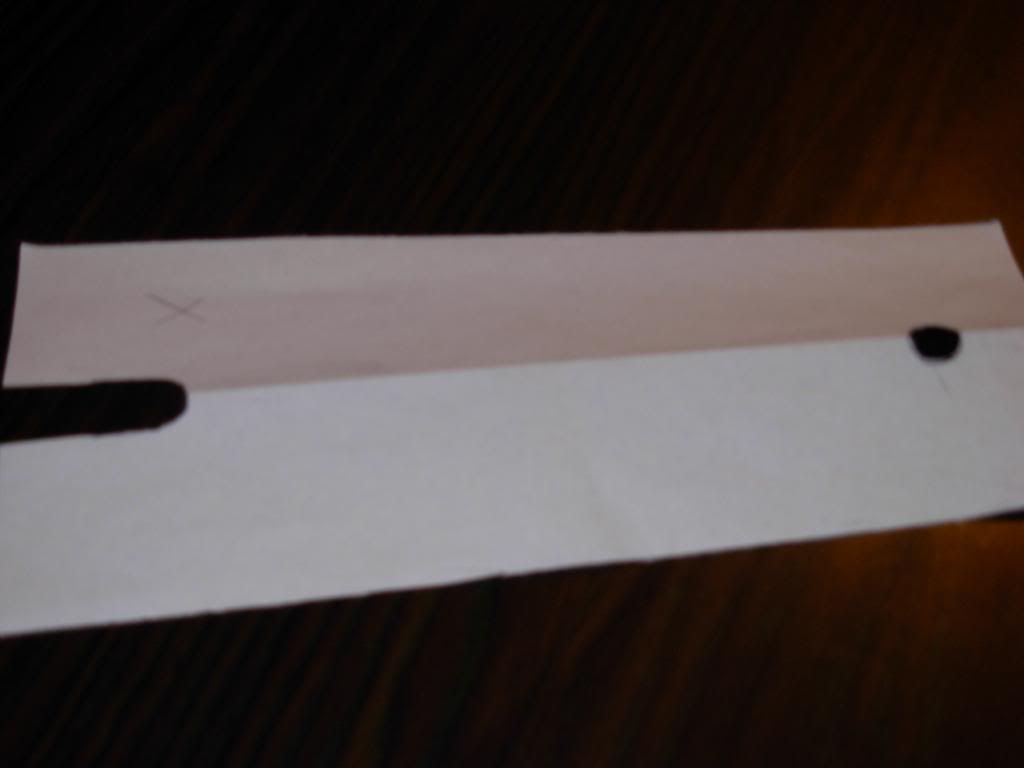
This often leaves a lot to be desired so you may have to fudge the pattern on the stock a bit to get it to look right. The desired design is drawn on one half of the pattern. Remember the crease is the centerline for our pattern and should have a line drawn on it to make it easy to see. The pattern can be one of your own or one taken from a book. At first it is always a good idea to keep the patterns simple with as few start and stopping points to each line as is feasible. This outline will become the pattern but we only have ½ of a complete pattern.
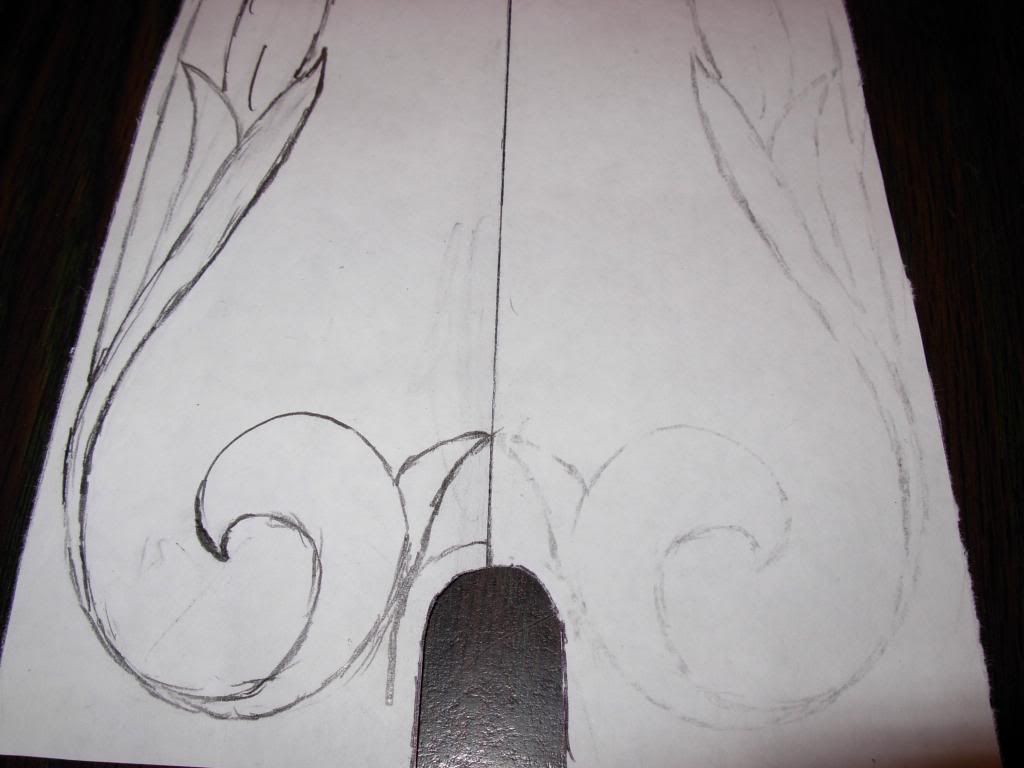
We then install the master lines by laying the diamond we created with it’s long axis on the centerline and using the pencil draw lines on 2 sides so they create and ‘V’ crossing at some point on the centerline. The lines of this ‘V; are then extended to create and ‘X’ where the point of our diamond template rested on the centerline. These lines should be continued from one edge to the opposing edge using the steel tape measure blade and taking great care to keep the lines straight as they follow around the compound curves of the fore stock. To replicate the other side fold the pattern down the centerline so that what you’ve drawn is pressed against the blank half of the pattern. Lay the folded pattern on a hard surface and rub the back of the side with the design on it with a hard smooth tool, I use the end on a Sharpie but a table knife handle would work to. The idea is to press the pencil marks hard against the blank paper and the hard surface. This causes the transfer of a bit of the pencil marks to the unmarked half of the pattern. These faint lines can then be darkened and any curves, points or other details improved or refined a bit. The pattern is now complete. Tape this pattern to the stock using masking tape. It’s is now ready to be transferred to the stock.
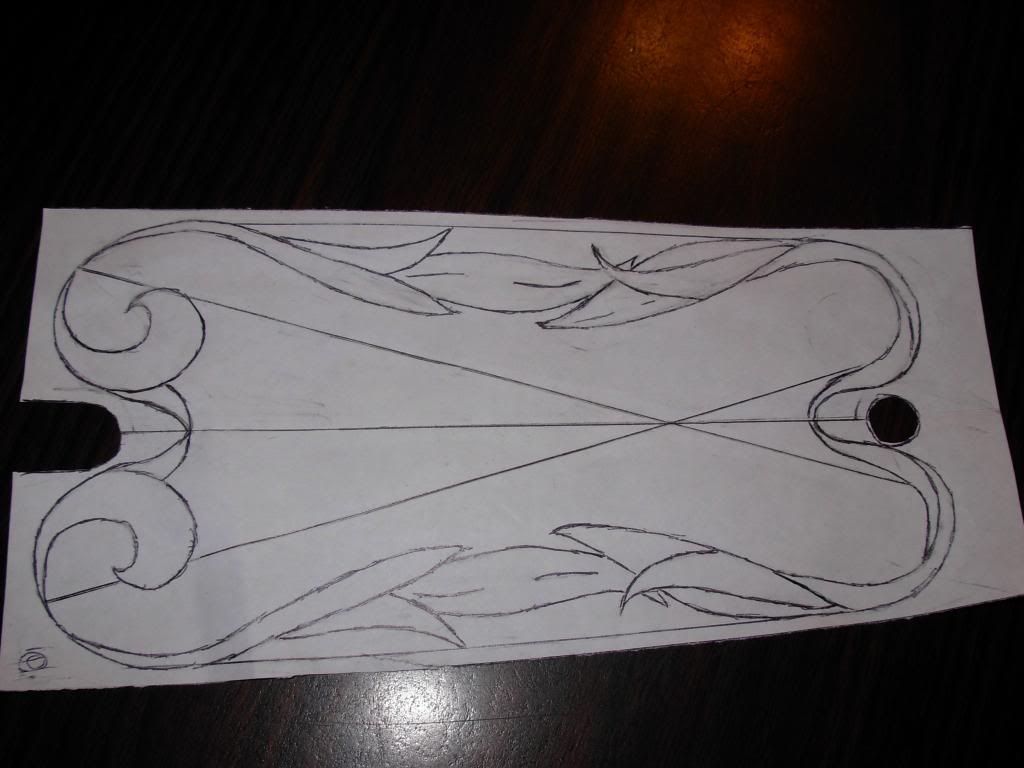
The best way I’ve found is to use a thin Exacto blade to punch through the paper with the blade aligned with the line. These should be close enough together that the flow of the lines can be easily followed. A round scribe can be used for this transfer but the marks can show up outside the border. The thin knife marks just tend to disappear in the border groove. Remove the pattern paper and retain for your files. You may wish to replicate it at some point. If fleurdelis are used in the pattern I usually make a plastic pattern and place it in position after the pattern is transferred to the wood and punch around it with the thin pointed blade. This ensures all these are identicle at least to this point in the execution. The pattern shown is one I installed on my daughter's 280. It only shows the outline of the foliage. The under cutting, shading and back rounding is not defind in the pattern. I will try to get photoes of the completed job and the tools used to create it..
If there is anything I've not explained well or that need more information just ask and I'll try to clarify.